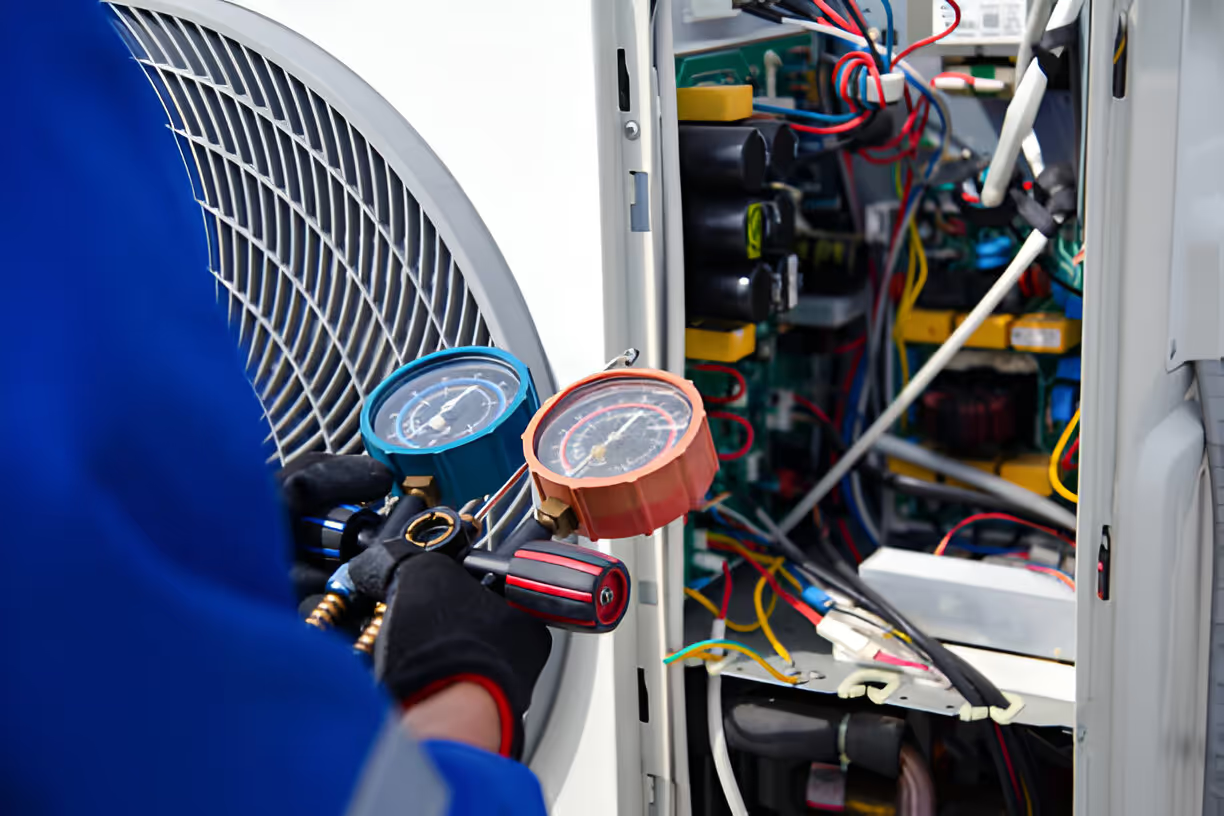
Mini-Split Replacement in Santan Valley, AZ
Explore the benefits of replacing your mini-split system instead of repairing it. Learn about common issues, evaluation processes, and selection tips.
Mini-Split Replacement in Santan Valley, AZ
Replacing a ductless mini-split in Santan Valley, AZ is a practical step when your system can no longer meet cooling needs, becomes unreliable, or loses efficiency. In this part of the East Valley, summers regularly exceed 100 F and monsoon season brings dust and humidity spikes. Those local conditions increase run times and accelerate wear on components, making timely replacement an important decision for comfort, energy bills, and long-term reliability.

Why replace a mini-split instead of repairing it?
Deciding between repair and replacement is common at the point of failure. Consider replacement when you see any of the following:
- Unit age is 10 to 15 years or older and efficiency has dropped significantly.
- Repeated breakdowns or frequent refrigerant leaks.
- Compressor failure, which is often the most expensive repair.
- Repair cost approaches or exceeds 50% of a new system.
- System still uses phased-out refrigerants or has components no longer supported.
- Home comfort needs have changed and existing capacity is inadequate.
Replacement delivers improved efficiency, quieter operation, and modern features such as inverter-driven compressors and smart controls that are well-suited to Arizona climate demands.
Common mini-split issues in Santan Valley homes
- Reduced cooling capacity after prolonged summer use.
- Refrigerant leaks caused by vibration, corrosion, or improper installation.
- Electrical problems from undersized circuits or aging wiring.
- Clogged condensate drains leading to water damage or indoor leaks.
- Dust and pollen buildup from seasonal monsoons that reduces heat-exchanger efficiency.
- Mismatched indoor/outdoor components from previous repairs producing poor performance.
Understanding these common failure modes helps determine whether replacement is the more reliable, cost-effective option.
Evaluation and diagnostic process
A thorough evaluation is the first step in replacement:
- Visual inspection of indoor and outdoor units for corrosion, damage, and wear.
- Performance testing: temperature split, airflow, and system pressures.
- Electrical check: breaker sizing, wire condition, and disconnect safety.
- Refrigerant verification: leak detection and refrigerant type assessment.
- Load assessment: a proper cooling load calculation (Manual J) or updated estimate for the home to confirm required capacity.
- Site review: outdoor unit location, wall penetrations, and available line set paths.
This diagnostic phase establishes whether repair is feasible and, if not, informs the correct new system size and configuration.
Unit selection guidance: efficiency and sizing
Choosing the right replacement unit is critical for long-term comfort and cost savings.
- Size using a professional load calculation rather than rule-of-thumb. In Santan Valley, high summertime loads mean accurate sizing prevents undersized systems from running continuously and oversized systems from short-cycling.
- Prioritize inverter (variable-speed) compressors for better efficiency and more consistent indoor temperatures. These systems handle Arizona heat more effectively and reduce runtime.
- Look for higher SEER ratings and favorable HSPF ratings for heating performance if you rely on heat pump mode during cooler months.
- Choose the right indoor unit style: wall-mounted units are common, but floor-mounted or ceiling-cassette options may suit certain rooms or aesthetic preferences.
- Consider multi-zone systems when you want individualized control across several rooms; single-zone systems can be ideal for additions, garages, or small spaces.
- Confirm refrigerant type (modern options include R410A and R32) and ensure compatibility with local service availability.
Removal of old equipment and disposal
Proper removal protects your home and complies with environmental rules.
- Power is disconnected and the refrigerant is recovered according to EPA regulations.
- Indoor and outdoor units are unmounted and disconnected, including line sets and condensate lines.
- Wall penetrations and aesthetic openings are assessed; installers typically patch or recommend finishing work for clean results.
- Old equipment is removed and disposed of according to local codes, including responsible recycling of metal and refrigerant-containing components.
Professional installation steps
A professional installation follows a set sequence to ensure safety and performance:
- Finalize layout and mounting locations based on the evaluation.
- Install outdoor condenser on a level pad, with clearance for airflow and service access.
- Mount indoor units and route refrigerant line sets, electrical wiring, and condensate drains.
- Make electrical connections with proper breakers and disconnects; many systems require a dedicated circuit.
- Evacuate the line set to a deep vacuum, pressure test for leaks, and charge refrigerant per manufacturer specs.
- Commission the system: verify pressures, temperature differentials, airflow, and control functions.
- Configure Wi-Fi or remote controls if available and perform a system run test under load.
- Walk through system operation and basic maintenance items with the homeowner.
Typical replacement can range from a single day for a straightforward swap to multiple days for complex multi-zone installs or necessary electrical upgrades.
Financing and warranty considerations
Replacement is an investment; financing and warranty options help manage cost and protect your purchase.
- Financing options commonly include low-monthly payment plans or deferred interest programs through third-party lenders tailored for HVAC projects. Energy-efficient upgrades sometimes qualify for special financing or local incentives.
- Manufacturer warranties vary: compressors and major components often carry 5 to 10 year warranties, while parts warranties can be shorter. Registration is frequently required to access full warranty benefits.
- Labor warranties are provided by installing contractors; standard labor protection often covers 1 year on parts and labor, but extended labor warranties may be available.
- Maintain required service records and follow recommended maintenance schedules to keep warranties valid.
Long-term benefits and maintenance tips
Replacing an aging mini-split delivers immediate comfort improvements and long-term savings.
- Expect lower energy use and reduced utility bills from a properly sized, high-efficiency system.
- Zoned control reduces wasted cooling and increases occupant comfort room-by-room.
- New units are quieter and less likely to fail during peak heat events.
- Regular maintenance preserves efficiency: clean or replace filters monthly to quarterly, keep outdoor condensers free of debris, and schedule annual professional tune-ups before peak season.
- Addressing minor issues early prevents costly failures during extreme heat.
A well-executed replacement tailored to Santan Valley conditions ensures reliable cooling through long, hot summers and reduces the impacts of dust and monsoon-related stress. Proper evaluation, correct sizing, professional installation, and adherence to warranty and maintenance requirements will maximize the value and lifespan of your new mini-split system.


