


Heating Repair & Installation Service in Cave Creek, AZ
Discover why reliable heating matters in Cave Creek. Learn about common heating issues, diagnostic steps, and factors for repair vs replacement decisions.
Heating Repair & Installation Service in Cave Creek, AZ
When winter arrives in Cave Creek, AZ, nights can get surprisingly cold and your heating system becomes essential for comfort and safety. Whether you need a timely repair to restore reliable warmth or are considering a full system upgrade, understanding diagnostics, replacement criteria, installation timelines, warranties, and financing helps you make the most cost-effective choice for your home. This page covers common heating problems in Cave Creek homes, how technicians diagnose issues, when replacement is recommended, the installation process, and what to expect from warranties and financing.
Why heating matters in Cave Creek homes
Cave Creek’s desert climate brings wide daily temperature swings and cooler winter nights. Many homes rely on gas furnaces, heat pumps, or ductless mini-splits for heating. Local factors that influence system performance:
- Cool nighttime lows and occasional freezes demand dependable heating capacity.
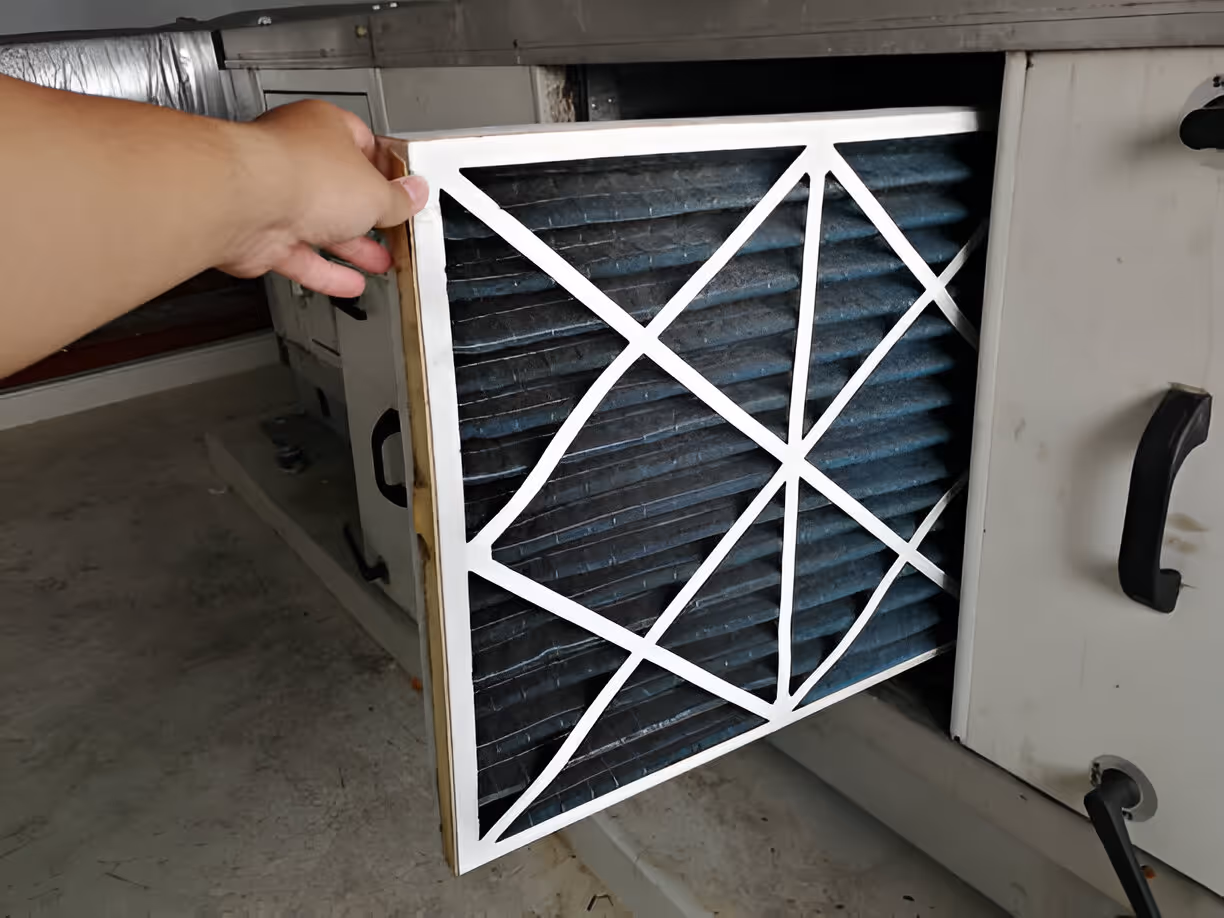
- Dust, pollen, and monsoon debris can clog filters and coils, reducing efficiency and lifespan.
- Older ductwork common in some neighborhoods may leak or be poorly insulated, increasing heating load.
Regular, accurate diagnosis prevents emergency breakdowns and keeps energy costs down.
Common heating issues in Cave Creek and what they mean
- No heat or inconsistent heat — Often caused by thermostat problems, ignition failure, or a faulty heat pump reversing valve.
- Short cycling (turning on and off frequently) — Can indicate an oversized system, overheating, or airflow restrictions from clogged filters or blocked vents.
- Strange noises (clanking, squealing, rattling) — Worn bearings, broken belts, or loose components need prompt attention.
- Higher energy bills — Reduced efficiency from aging equipment, failing components, or refrigerant issues in heat pumps.
- Cold spots or uneven heating — Duct leaks, poor insulation, or failing blower motors are common causes.
- Frequent pilot or ignition problems (for gas systems) — Suggests issues with the ignition control, gas valve, or combustion components.
How professional diagnostics work
A thorough diagnostic separates simple fixes from deeper system failures. Typical diagnostic steps:
- Visual and safety inspection — Check filters, vents, combustion area (for gas), and electrical connections.
- Thermostat and control checks — Verify setpoints, sensors, and wiring.
- Airflow measurement — Inspect blower motor, belts, and duct pressure to identify blockages or leaks.
- Combustion and safety testing (gas systems) — Measure flame quality and CO levels, inspect heat exchanger for cracks.
- Electrical and component tests — Test capacitors, relays, and control boards for intermittent or failed components.
- Refrigerant and performance checks (heat pumps) — Verify refrigerant charge, reversing valve, and metering device to ensure proper heating mode operation.
Technicians will explain failed components, estimated repair costs, and the likely remaining life of the system to help with the repair vs replacement decision.
Repair vs replacement: what to consider
Deciding whether to repair or replace is a financial and comfort decision. Consider these factors:
- Age of the system: Furnaces typically last 15–20 years; heat pumps 10–15 years. If your system is near the end of its expected life, replacement is often the better long-term value.
- Frequency and cost of recent repairs: Multiple repairs in a short period often signal diminishing returns on continued fixes.
- Efficiency and energy savings: Modern systems are significantly more efficient; replacing an old unit can reduce heating costs and improve comfort.
- Safety concerns: Cracked heat exchangers, persistent carbon monoxide alarms, or major electrical faults warrant replacement.
- Refrigerant issues: Older units using phased-out refrigerants may be costly to service and are a strong candidate for replacement.
Pros and cons (high level)
- Repair: Lower immediate cost; preserves remaining lifespan when issues are isolated; faster turnaround.
- Replace: Higher upfront cost but lower operating costs, improved comfort, updated warranties, and reduced emergency repairs.
Upgrading or installing a new system: the process and timeline
Installation of a new heating system typically follows these stages:
- Load calculation and system selection — A technician sizes the system based on your home’s insulation, windows, orientation, and ductwork. Correct sizing prevents short cycling and inefficiency.
- Permits and scheduling — Local permitting and utility notifications may be required; this can add a few days to a couple of weeks depending on jurisdiction.
- Removal and preparation — Old equipment is safely removed, combustion and venting components assessed, and ductwork inspected.
- Installation — Most furnace or heat pump installations take 1–3 days for standard residential systems; complex retrofits or duct modifications may take longer.
- Startup, testing, and walkthrough — Technicians commission the system, test safety interlocks, adjust controls, and review operation with the homeowner.
- Final inspection — Some installations require municipal inspection to close permits.
Warranties, parts, and financing options
- Manufacturer warranties typically cover parts for a set period (commonly 5–10 years depending on the model and registration). Labor warranties are provided by installers and are often shorter (for example, 1 year), but terms vary. Ask for written warranty details before installation or repair.
- Extended warranties and service plans can protect against future repair costs and provide scheduled maintenance.
- Financing options are widely available through third-party lenders and can include low monthly payment plans or deferred interest offers. Many homeowners use financing to spread the cost of a high-efficiency upgrade while benefiting immediately from lower energy bills. Available incentives, local utility rebates, or tax credits may further offset costs.
Maintenance and long-term benefits
Routine maintenance extends equipment life and preserves efficiency. Key actions for Cave Creek homeowners:
- Replace or clean filters every 1–3 months during heating use.
- Schedule annual heating tune-ups before the heating season to check combustion safety, airflow, and controls.
- Keep outdoor units clear of debris and dusty buildup—especially after monsoon season.
- Seal and insulate ducts to reduce heat loss and improve comfort.
Upgrading to a high-efficiency system or fixing persistent issues improves indoor comfort during cold nights, lowers operating costs, reduces the risk of mid-winter failures, and can increase overall home value.
ConclusionA well-diagnosed repair or a properly executed replacement both restore reliable warmth for Cave Creek homes. Use the guidance above to evaluate your system’s condition, understand the diagnostic process, and weigh repair vs replacement. Professional diagnostics, correct sizing, and clear warranty and financing options help you choose the most durable, cost-effective solution for your home’s heating needs.